.zrdn-hide-print{
display:none;
}
.zrdn_five
{
background-position-y: 2px;
}
.zrdn_four_half
{
background-position-y: -16px;
}
.zrdn_four
{
background-position-y: -35px;
}
.zrdn_three_half
{
background-position-y: -54px;
}
.zrdn_three
{
background-position-y: -75px;
}
.zrdn_two_half
{
background-position-y: -93px;
}
.zrdn_two
{
background-position-y: -111px;
}
.zrdn_one_half
{
background-position-y: -129px;
}
.zrdn_one
{
background-position-y: -150px;
}
.zrdn_zero
{
background-position-y: -168px;
}
#zlrecipe-title{border-bottom: 1px solid #000; font-weight: bold; font-size: 2em;
line-height: 1.3em; padding-bottom: 0.5em;
font-family:Georgia, "Times New Roman", Times, serif;;
}
.zlrecipe-print-link {float: right; margin-top: 5px;}
#zrdn-recipe-container{ padding:10px}
.zlrecipe-print-link a { background: url(https://recette.thermomagazine.org/wp-content/plugins/zip-recipes/images/print.png ) no-repeat scroll 0 4px transparent;
cursor: pointer;
padding: 0 0 0 20px;
display: block;
height: 20px;
color:#b72f2f;
}
#zlrecipe-category, #zlrecipe-cuisine, #zlrecipe-trans_fat, #zlrecipe-cholesterol, #zlrecipe-fiber, #zlrecipe-sodium, #zlrecipe-sugar, #zlrecipe-protein, #zlrecipe-protein, #zlrecipe-carbs, #zlrecipe-saturated-fat, #zlrecipe-fat, #zlrecipe-calories, #zrdn__author, #zlrecipe-total-time, #zlrecipe-prep-time, #zlrecipe-cook-time, #zlrecipe-yield, #zlrecipe-serving-size {line-height: 1.2em;
margin: 1em 0; font-size:14px;
font-weight: bold;}
#zlrecipe-category span, #zlrecipe-cuisine span, #zlrecipe-trans_fat span, #zlrecipe-cholesterol span, #zlrecipe-fiber span, #zlrecipe-sodium span, #zlrecipe-sugar span, #zlrecipe-protein span, #zlrecipe-protein span, #zlrecipe-carbs span, #zlrecipe-saturated-fat span, #zlrecipe-fat span, #zlrecipe-calories span, #zrdn__author span, #zlrecipe-total-time span, #zlrecipe-prep-time span, #zlrecipe-cook-time span, #zlrecipe-yield span, #zlrecipe-serving-size span{font-weight: normal; display:block}
.zlmeta .width-50{ width:50%; float:left}
#zlrecipe-summary { padding: 0 10px 10px;}
#zlrecipe-summary .summary{ margin: 10px 0; font-style: italic; line-height: 1.2em; font-size: 16px; font-family: 'Open Sans', sans-serif;}
#zlrecipe-ingredients, #zlrecipe-instructions{ font-weight: bold; font-size: 1.25em; line-height: 1.2em; margin: 1em 0; padding-bottom:1em;}
#zlrecipe-ingredients-list, #zlrecipe-instructions-list{padding:0px;line-height: 1.2em; font-size: 1.1em;
}
.ingredient.no-bullet {list-style-type: none; padding: 0 0 0 2.4em; margin: 1em;}
#zlrecipe-instructions-list li{
text-align:left;
}
#zlrecipe-instructions-list .instruction {margin: 0 1em; list-style-type: decimal;}
#zlrecipe-instructions-list {color: #000;padding:0px; margin: 0 0 24px 0;padding-left: 10px;}
#zlrecipe-ingredients-list{color: #000;padding-left: 10px;line-height: 1.3em;}
#zlrecipe-ingredients-list li{padding-left: 0; text-align: left; padding-bottom:5px;margin:0px; }
#zrdn-recipe-container .hide-card{
display: none;
}
#zlrecipe-summary{
clear: both;
}
#zrdn-recipe-container .h-4 { font-size: 1.25em; font-weight: bold; }
.ziprecipes-plugin { display: none; }
#zl-printed-copyright-statement, #zl-printed-permalink { display: none; }
.amp-ad-wrapper {text-align: center}
.amp_ad_5{margin-left: auto; margin-right: auto;}
#amp-user-notification1 p { display: inline-block; margin: 20px 0px; }
#amp-user-notification1 { padding: 5px; text-align: center; background: #fff; border-top: 1px solid #005be2; }
amp-user-notification button { padding: 8px 10px; background: red; color: #fff; margin-left: 5px; border: 0; }
amp-user-notification a{background:red;}
amp-web-push-widget button.amp-subscribe {
display: inline-flex;
align-items: center;
border-radius: 5px;
border: 0;
box-sizing: border-box;
margin: 0;
padding: 10px 15px;
cursor: pointer;
outline: none;
font-size: 15px;
font-weight: 500;
background: #4A90E2;
margin-top: 7px;
color: white;
box-shadow: 0 1px 1px 0 rgba(0, 0, 0, 0.5);
-webkit-tap-highlight-color: rgba(0, 0, 0, 0);
}
Cupcakes à la cannelle au thermomix – brioches à la cannelle il y a 3 ans
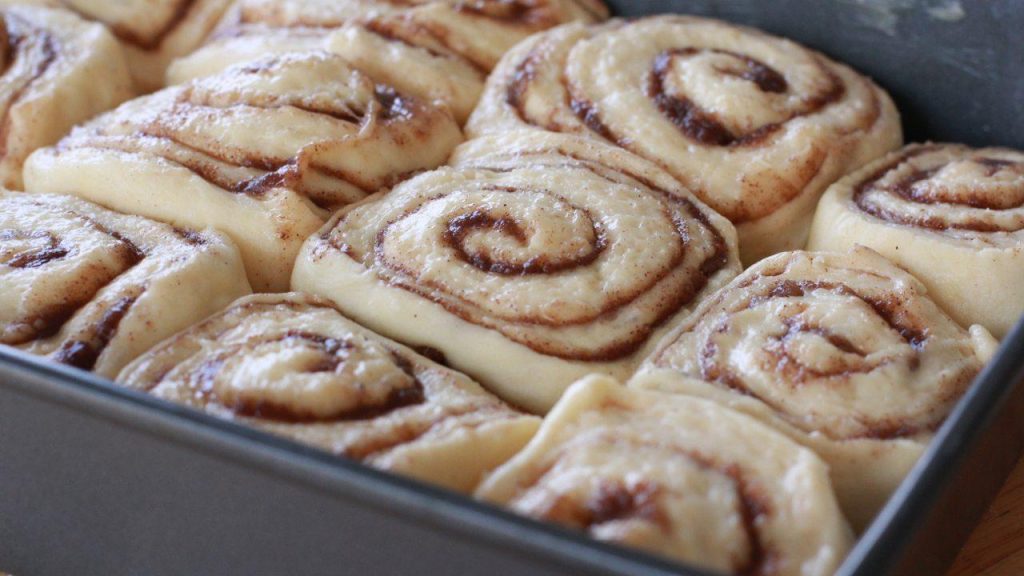
aujourd’hui, nous apportons un délice authentique pour ceux qui ont la dent sucrée et c’est que ces cupcakes à la cannelle également connus sous le nom de brioches à la cannelle sont incroyables à manger seuls et ils se font très facilement avec notre thermomix, dont on vous laisse la recette, mais on vous prévient, si vous les faites une fois… vous répétez Cette recette a de la cannelle
Regarder Vidéo comment faire des cupcakes à la cannelle avec thermomix
https://www.youtube.com/watch?v=S0K2CiEPHVo
Cupcakes à la cannelle au thermomix – brioches à la cannelle
Catégorie:
dessert au thermomix
Ingrédients cupcakes cannelle au thermomix – brioches à la cannelle
Pâte à cupcakes à la cannelle au thermomix 250g de lait 80g de Le beurre 2 cuillères à café de levure sèche instantanée 1 cuillère à café de sel 100g de sucre 2 oeufs 600 g de farine boulangère Cupcakes à la cannelle fourrés au thermomix 250g de cassonade 80g de beurre 25g de cannelle Formation de la couverture des Cupcakes à la cannelle avec thermomix 220g de sucre 5g de zeste de citron 50g de beurre 50g de fromage à la crème 15g de lait 1/2 cuillère à café d’essence de vanille Préparation de cupcakes à la cannelle au thermomix – cinnamon rolls
Pâte Faire chauffer le lait et le beurre à 50°C Vitesse 2 pendant 3 minutes. Ajouter le reste des ingrédients de la pâte et mélanger à vitesse 3 pendant 15 secondes. Pétrir pendant 8 minutes la fonction de la pâte. Transférer la pâte sur un tapis en silicone antiadhésif TM Essentials légèrement fariné. Enveloppez légèrement la pâte pour la protéger du dessèchement et lui donner de la place pour lever. Mettre la pâte au four à 30°C (décongélation) pendant 15 minutes. Découper et rouler en un grand rectangle – la taille du tapis de four. Remplissage Ajouter tous les ingrédients de la garniture dans le bol TM. Mélanger à vitesse 4 pendant 30 secondes. Répartir la garniture sur la pâte. Étalez la pâte et coupez-la en 12 bandes à l’aide d’un emporte-pièce ou d’une spatule en silicone. Couvrir et laisser reposer 1 heure au four à 30°C (position décongélation). Sortir du four et préchauffer le four à 180°C. Cuire au four pendant 15-20 minutes jusqu’à coloration dorée. Formation de glace Pendant la cuisson des petits pains, moudre le sucre et le zeste de citron dans le vitesse 9 pendant 15 secondes avec le panier TM en place. Ajouter le reste des ingrédients du glaçage et mélanger à 60°C, Vitesse 2 pendant 5 minutes. Étalez la glace sur les rouleaux dès qu’ils sont sortis du four. 
