.zrdn-hide-print{ display:none; } .zrdn_five { background-position-y: 2px; } .zrdn_four_half { background-position-y: -16px; } .zrdn_four { background-position-y: -35px; } .zrdn_three_half { background-position-y: -54px; } .zrdn_three { background-position-y: -75px; } .zrdn_two_half { background-position-y: -93px; } .zrdn_two { background-position-y: -111px; } .zrdn_one_half { background-position-y: -129px; } .zrdn_one { background-position-y: -150px; } .zrdn_zero { background-position-y: -168px; } #zlrecipe-title{border-bottom: 1px solid #000; font-weight: bold; font-size: 2em; line-height: 1.3em; padding-bottom: 0.5em; font-family:Georgia, "Times New Roman", Times, serif;; } .zlrecipe-print-link {float: right; margin-top: 5px;} #zrdn-recipe-container{ padding:10px} .zlrecipe-print-link a { background: url(https://recette.thermomagazine.org/wp-content/plugins/zip-recipes/images/print.png ) no-repeat scroll 0 4px transparent; cursor: pointer; padding: 0 0 0 20px; display: block; height: 20px; color:#b72f2f; } #zlrecipe-category, #zlrecipe-cuisine, #zlrecipe-trans_fat, #zlrecipe-cholesterol, #zlrecipe-fiber, #zlrecipe-sodium, #zlrecipe-sugar, #zlrecipe-protein, #zlrecipe-protein, #zlrecipe-carbs, #zlrecipe-saturated-fat, #zlrecipe-fat, #zlrecipe-calories, #zrdn__author, #zlrecipe-total-time, #zlrecipe-prep-time, #zlrecipe-cook-time, #zlrecipe-yield, #zlrecipe-serving-size {line-height: 1.2em; margin: 1em 0; font-size:14px; font-weight: bold;} #zlrecipe-category span, #zlrecipe-cuisine span, #zlrecipe-trans_fat span, #zlrecipe-cholesterol span, #zlrecipe-fiber span, #zlrecipe-sodium span, #zlrecipe-sugar span, #zlrecipe-protein span, #zlrecipe-protein span, #zlrecipe-carbs span, #zlrecipe-saturated-fat span, #zlrecipe-fat span, #zlrecipe-calories span, #zrdn__author span, #zlrecipe-total-time span, #zlrecipe-prep-time span, #zlrecipe-cook-time span, #zlrecipe-yield span, #zlrecipe-serving-size span{font-weight: normal; display:block} .zlmeta .width-50{ width:50%; float:left} #zlrecipe-summary { padding: 0 10px 10px;} #zlrecipe-summary .summary{ margin: 10px 0; font-style: italic; line-height: 1.2em; font-size: 16px; font-family: 'Open Sans', sans-serif;} #zlrecipe-ingredients, #zlrecipe-instructions{ font-weight: bold; font-size: 1.25em; line-height: 1.2em; margin: 1em 0; padding-bottom:1em;} #zlrecipe-ingredients-list, #zlrecipe-instructions-list{padding:0px;line-height: 1.2em; font-size: 1.1em; } .ingredient.no-bullet {list-style-type: none; padding: 0 0 0 2.4em; margin: 1em;} #zlrecipe-instructions-list li{ text-align:left; } #zlrecipe-instructions-list .instruction {margin: 0 1em; list-style-type: decimal;} #zlrecipe-instructions-list {color: #000;padding:0px; margin: 0 0 24px 0;padding-left: 10px;} #zlrecipe-ingredients-list{color: #000;padding-left: 10px;line-height: 1.3em;} #zlrecipe-ingredients-list li{padding-left: 0; text-align: left; padding-bottom:5px;margin:0px; } #zrdn-recipe-container .hide-card{ display: none; } #zlrecipe-summary{ clear: both; } #zrdn-recipe-container .h-4 { font-size: 1.25em; font-weight: bold; } .ziprecipes-plugin { display: none; } #zl-printed-copyright-statement, #zl-printed-permalink { display: none; } .amp-ad-wrapper {text-align: center} .amp_ad_5{margin-left: auto; margin-right: auto;} #amp-user-notification1 p { display: inline-block; margin: 20px 0px; } #amp-user-notification1 { padding: 5px; text-align: center; background: #fff; border-top: 1px solid #005be2; } amp-user-notification button { padding: 8px 10px; background: red; color: #fff; margin-left: 5px; border: 0; } amp-user-notification a{background:red;} amp-web-push-widget button.amp-subscribe { display: inline-flex; align-items: center; border-radius: 5px; border: 0; box-sizing: border-box; margin: 0; padding: 10px 15px; cursor: pointer; outline: none; font-size: 15px; font-weight: 500; background: #4A90E2; margin-top: 7px; color: white; box-shadow: 0 1px 1px 0 rgba(0, 0, 0, 0.5); -webkit-tap-highlight-color: rgba(0, 0, 0, 0); }

recettes pour thermomix

Glace à la vanille maison avec Thermomix : ultra crémeuse, facile et avec 3 ingrédients

🍨 Le dessert le plus simple et le plus délicieux de l’été – sans sorbetière, sans stress !

Un dessert peut-il être à la fois crémeux, irrésistible, ultra simple à préparer et ne nécessiter que trois ingrédients ?

Oui, c’est possible – et le meilleur dans tout ça, c’est que c’est ta Thermomix qui fait tout le boulot pendant que tu t’occupes de l’essentiel : lécher la cuillère. Aujourd’hui, je te propose une recette qui te donnera l’impression d’être un as des fourneaux : la glace à la vanille en 3 ingrédients.

Pas besoin de sorbetière, ni d’œufs, ni de prier pour que la crème ne tourne pas. Il te faut juste de la crème entière, du lait concentré sucré, et un soupçon de vanille. Le résultat ? Une glace qui n’a rien à envier aux artisans glaciers. Et oui, la Thermomix s’occupe de tout en moins de 5 minutes. Magie ? Non : intelligence culinaire.


📝 Ingrédients (pour environ 6 personnes comblées)
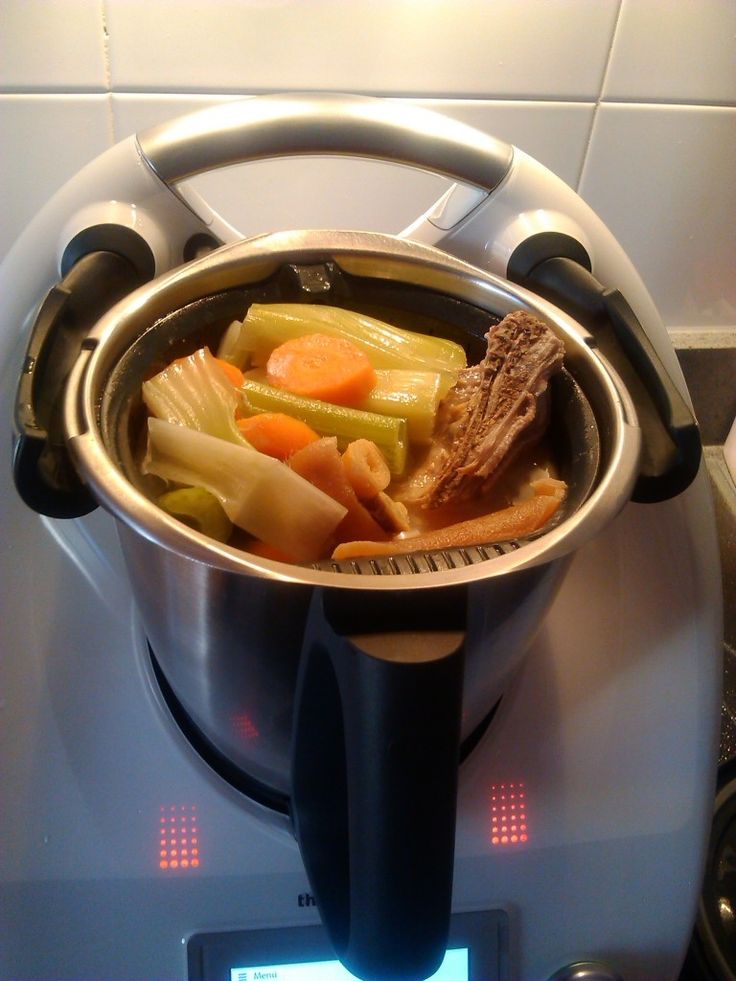
C’est tout. Le plus dur, c’est de décider si tu en prends une ou cinq boules.


⚙️ Préparation pas à pas (sans prise de tête, avec beaucoup de goût)

1. Préparer ta Thermomix – place au spectacle

Assure-toi que le bol est bien propre et sec. Installe le fouet (papillon) : c’est lui qui va incorporer de l’air et donner cette texture onctueuse digne d’un nuage.

2. Crème + vanille = début du bonheur

Verse la crème liquide et l’extrait de vanille dans le bol. Programme vitesse 2, sans minuterie – c’est la mise en route tranquille.

3. Lait magique en douceur

Pendant que la machine tourne, verse lentement le lait concentré par l’ouverture du couvercle. Ce geste doux est essentiel pour garder une texture aérienne et homogène.

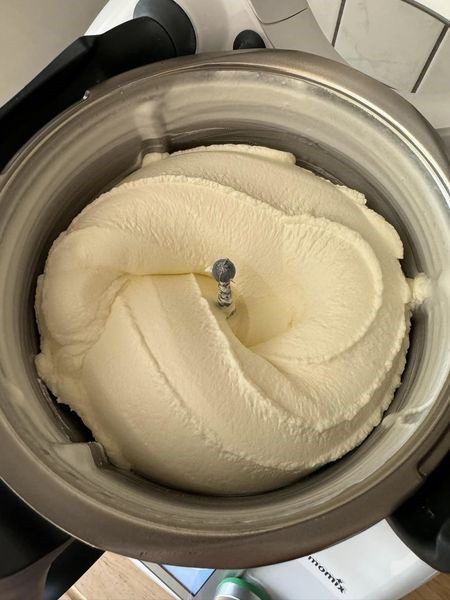
4. Monter en puissance

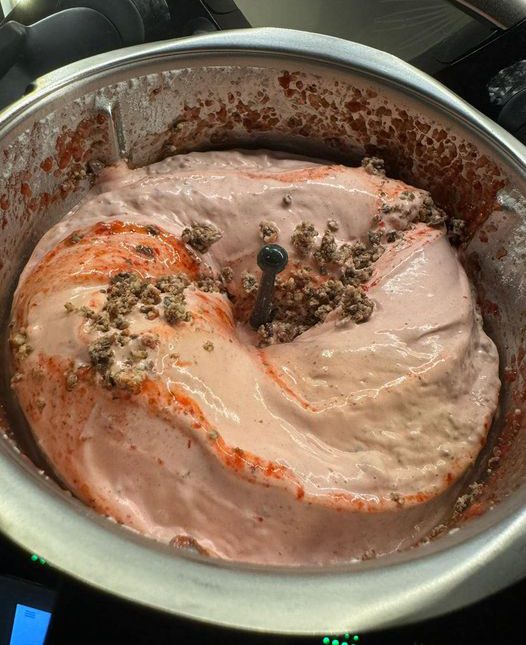
Quand tout le lait est incorporé, passe à la vitesse 3.5 et laisse fouetter pendant environ 4 minutes, jusqu’à ce que la texture ressemble à de la crème fouettée. Ne pars pas scroller sur ton téléphone : si tu bats trop longtemps, tu risques de te retrouver avec du beurre sucré (vraiment pas l’objectif).

5. Direction le congélateur

Verse la préparation dans un récipient hermétique, ferme bien, et laisse-la au congélateur pendant au moins 4 heures avant de servir.


😋 Astuces, variantes et idées pour aller plus loin

Quitter la version mobile